Posted by Jessi Mastenbroek
on January 10, 2025
How to shoot using natural light in your backyard, without the expense of lighting equipment

Photographing your products in natural light can be an effortless way to create stunning product imagery for your website and social media without spending thousands on lighting kits and photography courses. Almost all our website imagery is taken in natural light; I find it is one of the easiest ways to produce high quality images with minimal glare and shadows. There are other important benefits in using natural light: it's free, there’s no setting up or storing bulky lighting equipment, and you can create all different looks very easily at different times in the day and weather.
So how do we achieve professional imagery at home with natural light? Let's jump in!
1 - The right conditions
The right conditions depend on the look you are going for.
Clouds are your best friend if you are wanting to create imagery with minimal shadows and soft light. Clouds diffuse the light and create a much softer image than if taken in full Sun. Every time I see it's overcast but still bright outside, I do a mental check of whether I need any more imagery for the website.
Avoid shooting on cloudless sunny days. Shooting in full sun can wash out your image and result in losing detail in your backdrops, props and products.

The lighting was too harsh against such a light-coloured backdrop, so that all the detail and colour has been lost. This is a great example of how moving to the shade or using a diffuser would help keep the colour and contrast of the image.
Wind isn’t your friend. Wind blows over acrylic props and can send your backdrops flying. We recommend using our Weighted Backdrop Bars when shooting outside to keep backdrops from blowing away or creasing. Weighted Backdrop Bars use magnets to hold your backdrops firmly and are heavy enough to stop them from moving.

2- What is the right time of day to shoot?
This all depends on the type of lighting you are looking for and the look and feeling you want to portray with the image.
- If you are wanting to achieve minimal-to-no shadows and brighter images without sun glare, go for the morning before the sun is too far overhead. As the day progresses to when the sun is higher in the sky your products and props will create distinct shadows onto your backdrops.

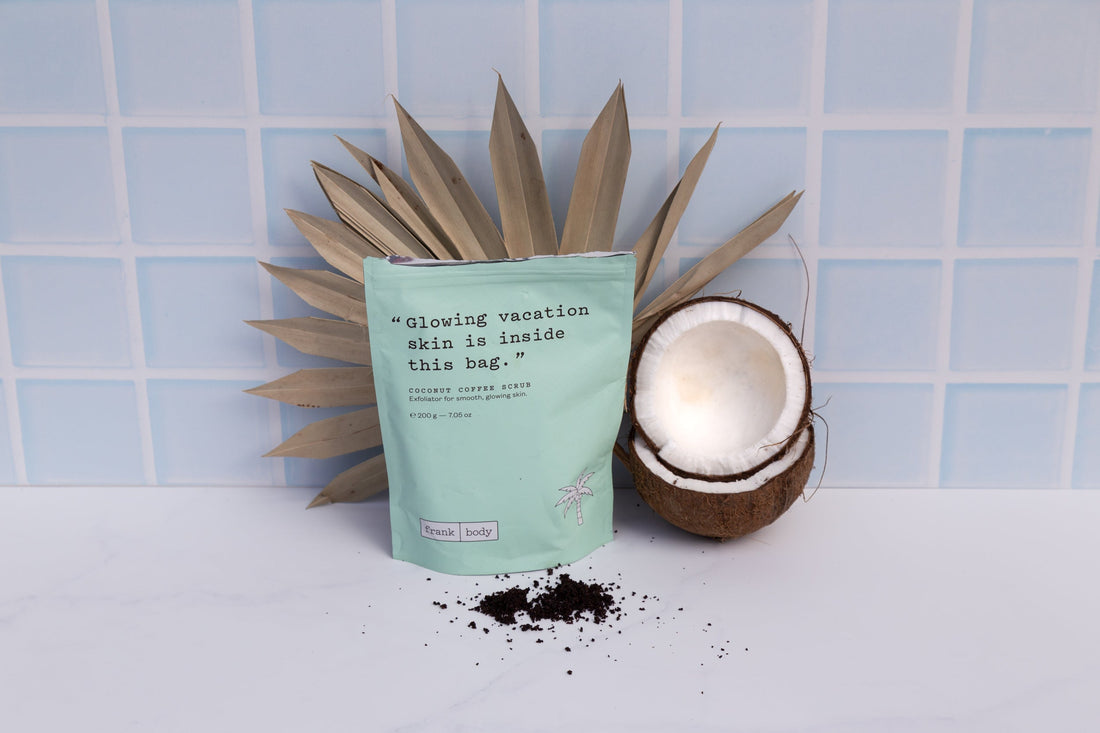
Soft lighting, very light shadows and not losing detail on the pure whites like within the coconut.
If you are looking for a warmer light with some shadows and potential sun glare, go for late afternoon. I find this time is perfect for shooting cocktails and glassware because you get some interesting details from the shadows. We also think about cocktail hour later in the day!

For a more editorial style with distinct shadows and a harsher light – your go-to would be towards the middle of the day. As mentioned earlier, full sun can result in losing detail so check out our tips below for diffusing the light.

Taken in full sun without any light diffusers, you can notice the distinct shadows and sheen on the backdrop. This was the correct lighting for this shoot as we were going to a beach, summer look.
Tip: If you are unsure as to what look you want or what time of day will suit best, put some items outside on a table and check them throughout the day. You will be able to see what shadows are being cast and make note of the time of day and if you like the look or not.
3- Setting up your shoot
This is where your backdrop, props and equipment come in. If you are shooting flat lay imagery, simply lay your backdrop flat on a table and secure it to keep your backdrop still and safe from wind. We’ve developed our Weighted Backdrop Bars with this in mind.

To set up a scene with a backdrop wall and base, put your table against a wall and use painters tape to secure against the wall. You can then secure the bottom backdrop with your Backdrop bars and position it close and flat against the back backdrop.
Don’t have a wall to secure your backdrop against? Try hanging a backdrop from a T-bar tripod or even taping to the edge of a table and using the ground for your base.

Tips: Find a table that is the right height for you but also low enough you can shoot overhead flat lays with ease. I picked up a fold up table from Bunnings for about $30 that easily stores away but is the correct width for our backdrops which they don't get damaged from overhang and are at a height that doesn’t hurt my back when leaning over the shoot.
Painters tape is a great option because it sticks to nearly everything and shouldn’t damage your backdrops!
4- Creating shade
Sometimes you don’t have time to wait, and the sun may be in a terrible spot creating all the wrong shadows. This is where shading your shoot comes into play. Using something that is translucent will create a textured shadow across your backdrops and products, or by moving under a tree you get light sneaking between the branches and leaves. For health and safety, make sure you put yourself in some shade as well!
Our solution: We don’t have a roof on our verandah and it’s the best place to shoot for the lighting I like. To give me more flexibility with shooting I purchased an umbrella with a built-in stand from Bunnings (about $80) so I can move it around depending on where the sun is and still avoid harsh lighting.
5- How to diffuse harsh light
A lot of people reach out for tips on how to eliminate shadows completely, but shadows aren’t always the enemy! If used correctly, they may create a nice effect that you would have missed out on otherwise. Using a diffuser or translucent material like a bedsheet will soften the light and retain some shadow that doesn’t distract from the products. This can also create balance across the highlights in the image and prevent blowing out the colours and losing detail.

Comparison imagery without a diffuser (left) and with a diffuser (right), you can see we have reduced detail in the backdrop and water droplets with the harsher, non-diffused light versus the diffused light. The harsh lighting can create a nice effect, but it all depends on the look you are after for your products and images!